
Estimators: 5 steps to protect margin on electrical estimates

A reliable electrical estimate lists exact quantities, tested labour hours, current material costs, overhead, contingency, exclusions, and payment terms. There’s one workflow that gets you there consistently: review the scope, walk the site, take off every system, price it with proven labour units, layer on overhead and contingency, then get a second set of eyes on it before you send it.
TL;DR:
A detailed scope review and site visit are essential to ensure accurate quantities and account for physical constraints before starting the takeoff process.
Material takeoff accuracy depends on referencing fixture schedules, including a wastage allowance, and choosing manual or digital methods based on job size.
Labour hour estimates must consider site conditions, crew skill levels, and sequencing delays, ideally based on historical data or published productivity rates.
Proper markup, clear exclusions, and systematic formatting are crucial when pricing estimates to ensure profitability and reduce disputes.
Reviewing estimates with a second person and tracking actuals after job completion improves future accuracy and prevents common costing errors.
Table of Contents
What is the step-by-step electrical estimate process?
Every solid electrical estimate follows the same sequence, whether you’re pricing a panel swap or a full commercial tenant fit-out. Skip a step and you’re guessing, not estimating.
-
Review drawings and specs first. Read the electrical drawings against the architectural and mechanical sets. Flag revisions, addenda, and anything buried in Division 01 (general conditions) that adds cost. This one hour of reading saves you from bidding a job you don’t fully understand.
-
Do a site visit. Measure conduit runs, photograph panel locations, and note access issues, staging space, and safety constraints. A tight crawl space or a locked mechanical room changes your labour hours more than most people expect.
-
Complete a system-by-system takeoff. Break the job into lighting, power, and controls. Keep a running total per sheet so nothing gets counted twice or missed entirely.
-
Estimate labour by task and crew. Cost rough-in, trim, terminations, and gear installs separately. Include mobilization, coordination with other trades, and cleanup time, not just the productive hours.
-
Format and review. Attach your assumptions, list your exclusions, and run the whole thing past a second person before it goes out.
This sequence mirrors the step-by-step estimating process that most industry guides converge on: scope review, site visit, takeoff, labour, pricing, and a final check. The order matters because each step depends on the accuracy of the one before it. A takeoff built on a drawing set you skimmed instead of read will always be wrong, no matter how carefully you price it afterward.
What should an electrical estimate include?
An estimate is a legal and financial document, not a rough guess on a sticky note. Missing a field here is how you end up eating costs you never priced. A complete electrical estimate template should always include:
-
Client and job identifiers: client name, job address, estimate number, and date, so nothing gets mixed up between projects.
-
Scope statement and assumptions: what’s included, what conditions you assumed (existing panel capacity, wall type, ceiling access), and what triggers a change order.
-
Detailed material takeoff: part numbers, specs, quantities, and allowances for items priced by estimate rather than firm quote.
-
Labour hours by task and crew: broken out by rough-in, trim, and terminations, not lumped into one number.
-
Equipment and rental costs: lifts, generators, or specialty tools you don’t already own.
-
Permit and inspection fees: quoted separately so they’re visible, not buried in overhead.
-
Overhead allocation and profit markup: your cost of doing business plus your margin.
-
Contingency: a buffer for unknowns, particularly on renovation or retrofit work.
-
Exclusions and contract terms: what’s explicitly not covered, payment schedule, and how long the price is valid.
Skipping any of these isn’t just sloppy, it’s how estimators lose money on jobs that looked profitable on paper. A client reading a scope statement and assumptions section knows exactly what they’re buying, which cuts down on the “I thought that was included” conversation weeks into the job.
How do you do an accurate material takeoff?
Speed matters in a takeoff, but accuracy protects your margin. The two aren’t in conflict if you build good habits.
Work sheet by sheet and keep a running total as you go rather than trying to tally everything at the end. This single habit prevents the most common takeoff error: double-counting a fixture that appears on both a lighting plan and a reflected ceiling plan.
-
Use fixture schedules as your anchor. Cross-reference the schedule against the plan view so repeated details (a standard receptacle circuit repeated across ten offices) get counted once per instance, not once total.
-
Build in a wastage allowance. Wire, conduit, and fittings always run over the theoretical minimum. Five to ten percent on cable is a reasonable starting allowance, adjusted by material type and run complexity.
-
Decide digital versus manual takeoff based on job size. Digital takeoff software pays off on large commercial jobs with dozens of sheets. For a residential service upgrade or small tenant improvement, a printed plan and a highlighter is often just as accurate and a lot faster to set up.
-
Get supplier quotes early on long-lead items. Switchgear, transformers, and specialty controls can shift price or availability week to week. Lock a quote in writing before you finalize your number.
Pro Tip: Keep a single running spreadsheet tab per system (lighting, power, controls) instead of one giant list. When a client asks to cut the parking lot lighting package, you can pull that line out in seconds instead of hunting through a 400-row sheet.
How do you estimate electrical labour hours accurately?
Materials are the easy part of electrical cost estimation. Labour is where estimates fall apart, because productivity swings wildly based on site conditions, crew skill, and sequencing with other trades.
Start with production-rate data, either your own historical numbers or a published reference, for rough-in, trim, terminations, and gear installs. A commercial estimating reference that provides labour units and productivity rates gives you a calibration point when you don’t have enough completed jobs of your own to trust yet.
-
Adjust base rates for access. A drop ceiling with clear access moves faster than a job requiring ladders in a finished space. Add hours accordingly, don’t just eyeball it.
-
Account for multi-trade sequencing. If your crew is waiting on drywall or working around plumbing rough-in, build coordination delays into the schedule, not just productive labour.
-
Match crew skill to task complexity. A four-person crew with two apprentices installs slower per person than a two-person crew of licensed electricians on complex terminations.
-
Decide when to buy a labour manual versus build your own log. New estimators without years of completed jobs benefit from a published reference. Once you’ve got 20 or 30 jobs logged, your own numbers will usually beat any generic manual because they reflect your actual crew and territory.
The Procore estimating guide makes a point worth repeating: don’t bid work outside your historical experience without pricing in extra contingency. If you’ve never wired a hospital, your first one shouldn’t be priced like your fiftieth office building.
How do you price and markup an electrical estimate?
Once your costs are solid, pricing is where you turn a correct number into a profitable one. This is also where a lot of estimators undercut themselves out of nervousness about losing the bid.
-
Choose a markup method and stick with it. A flat percentage applied line by line is simplest, but a blended approach (higher margin on materials, lower on labour, or vice versa depending on your market) can make you more competitive without cutting your actual profit.
-
Allocate overhead honestly. Your truck, insurance, office time, and tools all cost money whether or not you’re on a job site. Spread that cost across your annual bid volume so every estimate carries its fair share.
-
Use contingency for known unknowns, allowances for unpriced items. Contingency covers risk on things like unforeseen conditions behind a wall. Allowances cover items like fixtures the client hasn’t selected yet.
-
State exclusions clearly, not buried in fine print. “Excludes panel upgrade if existing service is under 100A” belongs near the top of the proposal, not in a footnote nobody reads.
-
Format for clarity. Break subtotals out by system, lighting, power, controls, so the client can see where the money goes. This kind of phase-based formatting also makes change orders much easier to negotiate later, because you’re only adjusting one system’s line item instead of relitigating the whole bid.
-
Set a payment schedule and validity period. A deposit on award, progress payments tied to milestones, and a 30 day price validity window are standard and protect you from material cost swings.
Should you use a template or estimating software?
For a small residential job or a quick service call, a well-built electrical estimate template in Excel or Word is genuinely enough. The trick is building it once with locked formulas for extensions and tax, then reusing it every time instead of rebuilding from scratch.
You outgrow a spreadsheet when you’re running multiple crews, tracking dozens of open quotes at once, or losing track of which bids are still pending follow-up. That’s when dedicated estimating and quoting software earns its cost, particularly ones with a built-in pricebook, one-click PDF quote generation, and quote status tracking.
Whatever you pick, run it against this checklist:
-
Ease of use: can a new hire produce a clean quote without a training session?
-
Export formats: does it produce a professional PDF a client can open on any device?
-
Offline access: does it work at a job site with no signal?
-
Reusability: can you clone a past estimate instead of starting from zero every time?
A free electrical estimate generator with pre-built line items is a reasonable stopgap while you’re deciding what you actually need long term.
What are the most common electrical estimating mistakes?
The same handful of errors show up on nearly every post-mortem of a job that lost money. Catch them before you hit send, not after.
-
Omitted items. A device, a junction box, or a fire-rated penetration missing from the takeoff because it wasn’t clearly shown on the plans.
-
Underestimated cable runs. Measuring straight-line distance instead of the actual routed path through walls, ceilings, and around obstacles.
-
No wastage allowance. Pricing materials at the theoretical minimum with nothing left over for cuts, mistakes, or damaged stock.
-
Missing permits or equipment rental. Forgetting inspection fees or a lift rental because they weren’t on the drawing set.
Before you submit, run through this checklist: verify all quantities against the takeoff, confirm supplier pricing is current, validate labour units against your own bid log, list every exclusion clearly, and set a bid validity date. Common cost drivers like these account for most of the post-award change orders that erode margin on otherwise well-run jobs.
Who should review an estimate before it goes out?
No estimate should go out the door reviewed by only the person who built it. A second estimator or project manager should independently check key quantities, the labour hours, and the assumptions before submission. Fresh eyes catch what tired ones miss.
After the job wraps, record what actually happened: real hours worked, material cost variance against the estimate, every change order, and a reason code for each one (client-driven, site condition, design error). That data is what lets you tighten labour units, update your pricebook, and adjust contingency levels on the next bid instead of repeating the same guess.
-
Log actual hours by task, not just total project hours.
-
Track material cost variance against your original takeoff.
-
Record every change order with a reason code attached.
-
Feed that history back into your labour units and contingency percentages.
How Forge helps electrical contractors manage estimates
Forge brings your customers, quotes, work orders, invoices, and follow-ups into one place, so an open bid never quietly disappears into a text thread or a forgotten spreadsheet tab. You can see every quote still waiting on a client decision at a glance instead of digging through email.
Automated follow-ups on outstanding quotes convert more of your bids into booked jobs, because the client hears from you before they’ve moved on to a competitor. That same activity view doubles as the bid log you need for post-job review: what you quoted, what you invoiced, and where the gap was.
Resources worth bookmarking
For labour and productivity calibration, a commercial estimating reference gives you unit data to check your own numbers against. For a fast starting template, Work Order Lab’s estimate template shows the fields a clean electrical estimate should have, ready to adapt. For quick, low-stakes quotes, a free estimate generator gets you a professional PDF in minutes.
The estimating advice that actually moves the needle
Most electrical estimating content leans too hard on templates and not hard enough on discipline. A template is a container. What fills it, honest labour units, a real wastage allowance, exclusions stated in plain language, is what actually protects your margin.
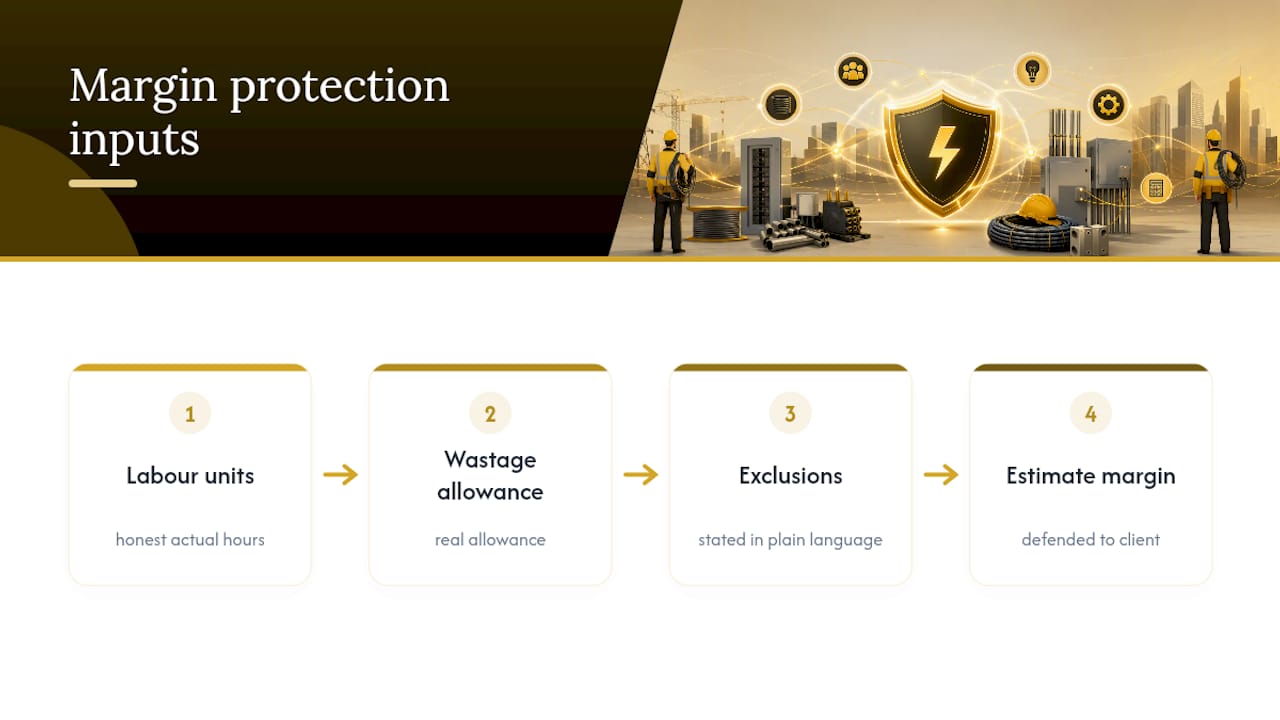
The most overrated piece of conventional advice is that more detailed software automatically produces better estimates. It doesn’t. A contractor with three years of accurate bid logs and a plain Excel template will consistently outprice a contractor running expensive software on guessed labour units. The tool doesn’t fix bad inputs.
If there’s one thing to prioritize first, it’s building your own bid log before you chase a fancier template. Track actual hours against estimated hours on every job for six months. That habit, more than any software purchase, is what turns your next estimate from a guess into a number you can defend to a client without flinching.
*“*Sources